Groups are built in order to allow users to more easily manage tasks from separate clients. Different clients may need different reported timesheets, and may have different hourly rates. Groups are very flexible though - you can use them to keep track of different priorities of tasks, or just help organize the different type of tasks you are working on.
To manage group, open the 'Groups' toolbar at the top and choose 'Manage task groups'. Or, you can hit the shortcut command+G. Doing either will open the Manage Groups window:

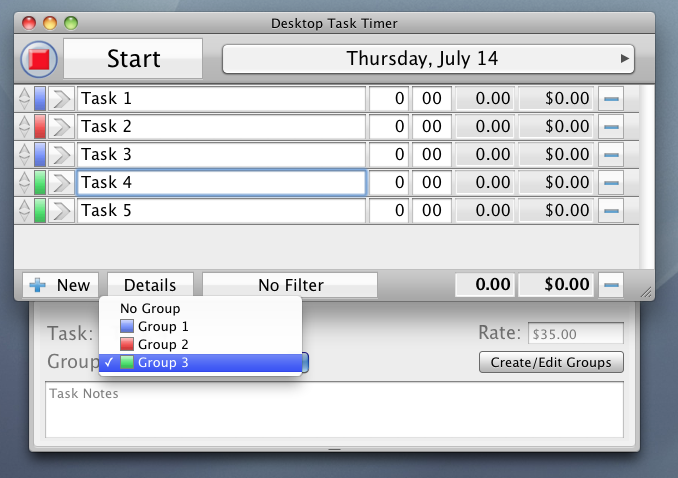
From this window you can create new groups, drag and drop to rearrange groups, hide a group from appearing in the 'assign group' drop-down, and change the default hourly rate. You can always override the hourly rate on a task-by-task basis from the Details pane. Additionally, you can change a group's color.
The color of a group is useful because it will show up in the main task list as a colored vertical bar. This makes it easy to see which tasks belong to each group.

You can assign a group from the task Details pane, shown above.
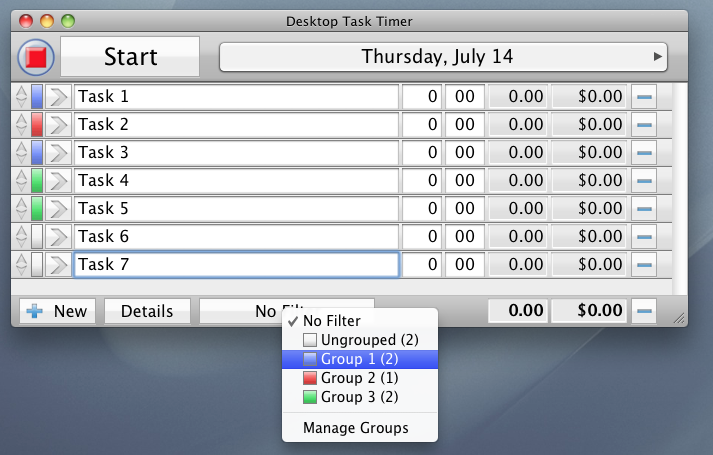
Additionally, you can filter based on group. This makes it more convenient to keep track of a single client. Click on the filter button at the bottom of the main task list (which by default says 'No Filter', and you will be presented with a list of optional filter groups. To view all tasks, switch back to 'No filter'. To only view tasks which have not been assigned a group, choose 'Ungrouped'.

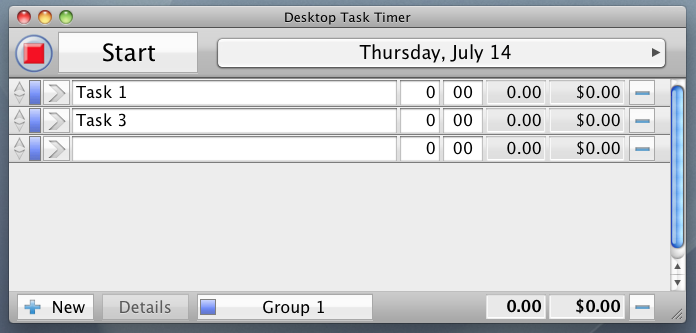
After the filter is applied, you will only see tasks that belong to that group. Additionally, any new tasks you create will automatically be assigned to the currently filtered group. To change this behavior, remove the filter.

Groups will automatically affect the formatting of the export spreadsheet. Tasks will be arranged according to their group. Additionally, if you export while a group filter is active, only that group's tasks will appear in the output.

